Contents
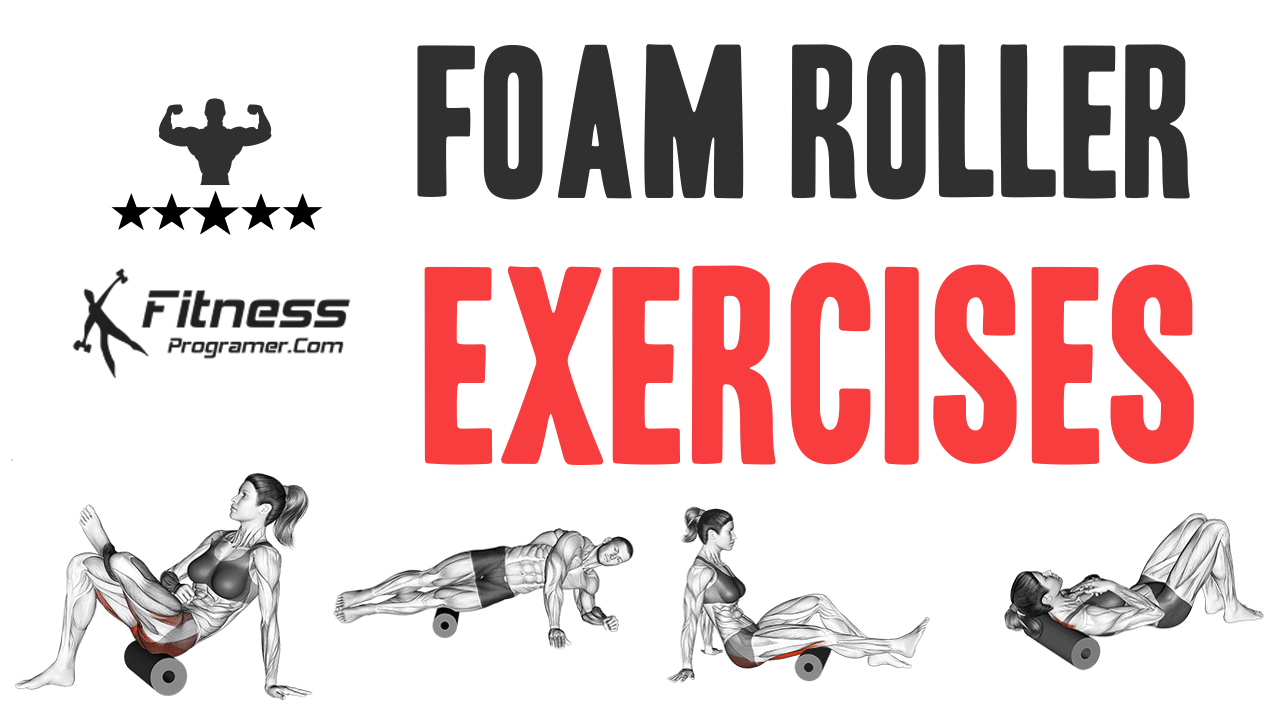
A foam roller is a cylindrical-shaped exercise tool made of foam that is used for self-massage. It is used to apply pressure to muscles by rolling or remaining stationary on various parts of the body.
The foam roller is a form of self-myofascial release that involves applying pressure to soft tissue to reduce pain, increase flexibility, and accelerate healing. The science behind foam rolling is based on the idea that myofascial restrictions and trigger points in the muscles can lead to pain and decreased range of motion.
Foam rolling can help release tension in the muscles and reduce stress levels, making it a great way to wind down after a workout or a long day.
In this guide, you will learn about the benefits of foam rollers, how to use them effectively, proper techniques for foam rolling, and post-workout foam roller exercises.
How to Use a Foam Roller?
When using a foam roller, the user positions the targeted muscle on top of the roller and applies their body weight to it by rolling back and forth. The basic technique involves lying on the foam roller and rolling back and forth over the targeted muscle group.
The pressure of the roller against the muscle helps to apply pressure and stretch the muscle fibers, releasing tension and increasing flexibility.
Foam rollers come in different densities, with firmer rollers providing deeper pressure, and softer rollers providing gentler pressure. This allows users to select a foam roller that matches their desired level of pressure.
Techniques for foam rolling
There are several techniques for foam rolling that can help target specific muscle groups and increase the effectiveness of the exercise. These techniques include:
- Rolling technique (basic technique) – Rolling back and forth over the targeted muscle group to apply pressure and release tension.
- Static pressure – Holding the foam roller in a specific area of the muscle and applying pressure for 30-60 seconds.
- Trigger point technique – Holding the foam roller in a specific area of the muscle and rolling back and forth over that spot.
While foam roller exercises can be used for self-massage, they can also be done as part of a warm-up or cool-down routine.
The benefits of foam roller exercises include:
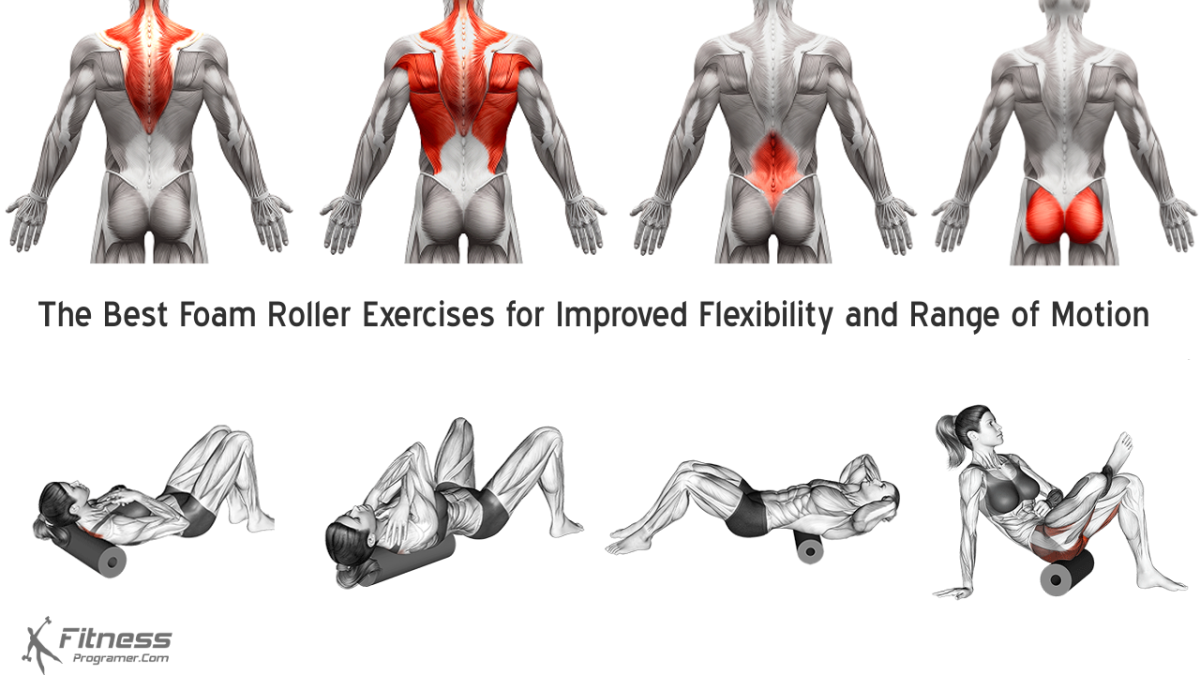
1. Improved flexibility and range of motion:
One of the primary benefits of foam rolling is improved flexibility and range of motion. Foam rolling helps to release tight muscles and fascia, allowing the muscles to move more freely. This increased flexibility can lead to improved athletic performance and reduced risk of injury.
2. Injury prevention:
Foam rolling can also help prevent injuries by reducing muscle tension and improving flexibility. Tight muscles can put increased strain on tendons and ligaments, leading to an increased risk of injury. By using a foam roller to release muscle tension, you can reduce the risk of injuries such as strains and sprains.
3. Muscle recovery:
Another benefit of foam rolling is improved muscle recovery. After a workout, muscles can become sore and fatigued due to the buildup of lactic acid and other waste products. Foam rolling after a workout helps increase blood lactate excretion, accelerate tissue healing, and reduce muscle soreness by increasing blood flow to the affected area.
In summary, foam rolling is a highly effective technique for improving flexibility, preventing injuries, improving circulation, and promoting muscle recovery. Incorporating foam rolling into your workout routine can help you achieve your fitness goals and maintain good overall health.
When to use a foam roller
Foam rolling can be done at any time of day, but it is recommended to do it after a workout when the muscles are warm and more receptive to stretching. Foam rolling can also be done before a workout to prepare the muscles for exercise and reduce the risk of injury.
Who can benefit from foam rolling
Foam rolling is especially beneficial for athletes and active individuals who engage in repetitive movements, have tight muscles or soreness, or want to improve their mobility and flexibility. Anyone can benefit from foam rolling, regardless of their fitness level or age.
***
Post-Workout Foam Roller Exercises
Incorporating foam rolling into your regular exercise routine can help to improve posture, reduce pain, and enhance athletic performance.
It is important to breathe deeply and relax while foam rolling, and to stop if you experience any pain or discomfort.
It is also important to remember that foam rolling should be performed with proper technique and only to a point of mild discomfort, as excessive pressure can cause further damage to the muscles.
1. For Upper Back
Purpose: Relieve tension in the upper back and shoulders.
Steps:
- Lie on your back with the foam roller under your upper back.
- Clasp your hands together over your chest.
- Roll back and forth over your upper back, focusing on tight spots.
- Repeat for 30-60 seconds.
2. For Rhomboids
Purpose: Release tension in the muscles between the shoulder blades and improve posture.
Steps:
- Lie on your back with the foam roller positioned perpendicular to your spine, just below your shoulder blades.
- Cross your arms across your chest.
- Use your feet to roll side to side, moving the roller up toward your shoulders.
- Repeat for 30-60 seconds.
3. For Chest
Purpose: To relieve tension in the chest muscles, improve flexibility and provide better posture.
Steps:
- Place the foam roller horizontally on the floor.
- Lie face down with the roller under your chest.
- Extend your arms in a “Y” position.
- Roll side to side or back and forth, pausing 20-30 seconds on tender areas.
4. For Mid Back
Purpose: Relieve tension in the middle back.
Steps:
- Lie on your back with the roller under your mid-back.
- Bend your knees and place your feet flat on the ground.
- Support your neck with your hands and lift your hips.
- Roll up and down along the mid-back, pausing on tender spots for deep breaths.
- Repeat for 30-60 seconds.
5. For Lats
Purpose: Release tension in the large back muscles responsible for shoulder movement.
Steps:
- Lie on your side with the roller under your armpit.
- Roll from just below your armpit to your lower back.
- Pause on tender areas for 15-30 seconds.
- Repeat for several passes on both sides.
6. For Quadriceps
Purpose: Increase blood flow and flexibility in the thigh muscles.
Steps:
- Lie face down with the foam roller under your thighs.
- Use your arms to support your upper body.
- Roll up and down from just above the knee to below the hip.
- Pause on tight areas and continue for 30-60 seconds.
7. For IT Band
Purpose: Reduce tightness and alleviate pain in the outer thigh.
Steps:
- Lie on your side with the foam roller under your hip.
- Place your top foot on the ground for support.
- Roll along the outer thigh from hip to just above the knee.
- Focus on tight areas for 20-30 seconds and repeat on the other side.
Note: Foam rolling the IT band can be uncomfortable; start with light pressure and increase gradually.
8. For Hamstrings
Purpose: Release tension in the back of the thighs.
Steps:
- Sit on the floor with your legs straight and the foam roller under your thighs.
- Use your hands to lift your hips off the ground.
- Roll back and forth over your hamstrings for 30-60 seconds, focusing on tight spots.
9. For Calves
Purpose: Relieve tension and improve flexibility in the lower legs.
Steps:
- Sit on the floor with your legs extended and the foam roller under your calves.
- Lift your hips off the ground using your hands.
- Roll back and forth over your calves for 30-60 seconds, pausing on tight areas.
10. For Glutes

Purpose: Release tension in the gluteal muscles.
Steps:
- Sit on the foam roller with one leg crossed over the other.
- Lift your hips and roll back and forth over the glutes.
- Focus on tight areas for 30-60 seconds, then switch sides.
Common mistakes to avoid
Some common mistakes to avoid when foam rolling include:
- Using improper form – Rolling too quickly or using improper technique can reduce the effectiveness of the exercise and increase the risk of injury.
- Rolling over the lower back – This exercise is not recommended for an individual with an injured or unstable lumbar spine. Rolling over the lower back can put undue pressure on the spine and increase the risk of injury.
- Rolling over injured areas – Rolling over injured areas can exacerbate the injury and delay the healing process.
- Using the wrong density or texture of foam roller – Using a foam roller that is too soft or too hard can make the exercise less effective or cause unnecessary pain. It’s important to choose the right density and texture of foam roller for your specific needs.
Final Thoughts and Advice
Foam rolling can be intimidating for beginners, but it is important to remember that it is a process that takes time and practice. It is normal to experience some discomfort during foam rolling, but it should never be painful. If you experience severe pain, you should stop and seek advice from a healthcare professional. Additionally, it is important to choose the right foam roller for your needs and to practice proper technique and form during foam rolling exercises.
In conclusion, foam rolling is a valuable tool for maintaining overall muscle health and flexibility. By following the tips and techniques outlined in this beginner’s guide, you can incorporate foam rolling into your daily routine and experience the numerous benefits it has to offer.
Sources:
- Does the type of foam roller influence the recovery rate, thermal response and DOMS prevention? (Go to research)
- Foam Rolling for Delayed-Onset Muscle Soreness and Recovery of Dynamic Performance Measures. (Go to research)
- A Meta-Analysis of the Effects of Foam Rolling on Performance and Recovery. (Go to research)