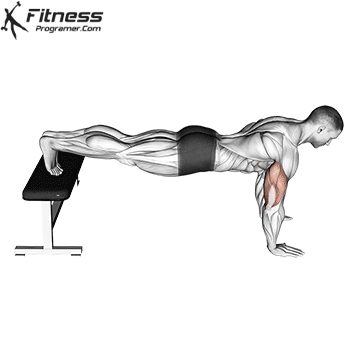
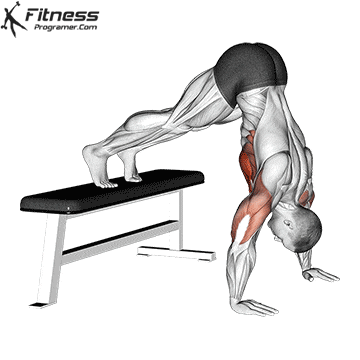
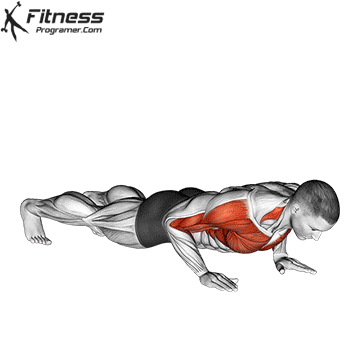
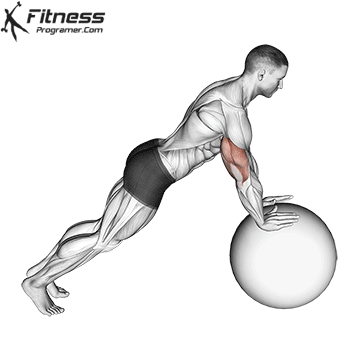
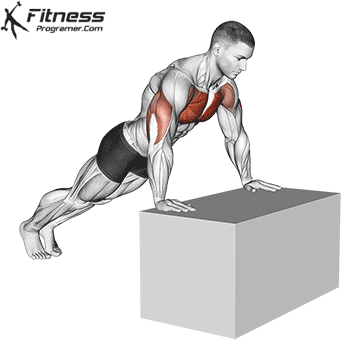
Incline Push-Up Overview
The incline push-up is a modified version of the traditional push-up in which your hands are elevated on a stable surface, such as a bench, countertop, or wall. By increasing the angle of your body relative to the ground, this exercise reduces resistance, making it simpler while still targeting the chest, triceps, and core. Incline push-ups can be used by beginners, for recovery purposes after an injury, or as a warm-up exercise before a workout.
How to Perform the Incline Push-Up:
Setup:
- Choose an Elevated Surface
- Use a sturdy bench, countertop, or even a wall for higher inclines. The lower the incline, the more challenging the exercise.
- Position Yourself
- Place your hands shoulder-width apart on the elevated surface. Ensure your fingers are pointing forward and your palms are flat.
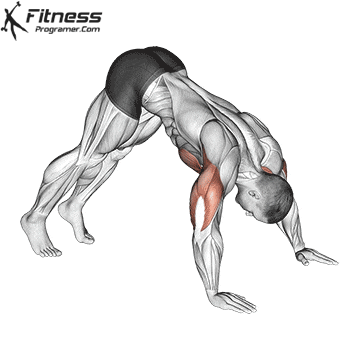
Execution:
- Starting Position
- Step your feet back until your body forms a straight line from head to heels.
- Engage your core and glutes to maintain a neutral spine.
- Lower Your Body
- Inhale as you slowly bend your elbows, lowering your chest toward the surface.
- Keep your elbows at a 45-degree angle to your torso, avoiding flaring them out.
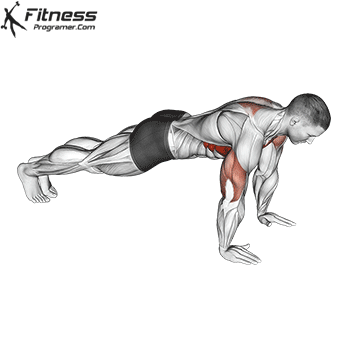
- Push Back Up
- Exhale as you press your hands into the surface, straightening your arms to return to the starting position.
- Focus on squeezing your chest and triceps as you push up.
- Repeat
- Perform 10–15 repetitions for 2–3 sets, depending on your fitness level.
Tips for Proper Form
- Engage Your Core: Keep your abs tight to prevent sagging hips or an arched back.
- Maintain Alignment: Your body should remain in a straight line throughout the movement. Avoid letting your hips drop or your shoulders shrug.
- Control the Movement: Move slowly and deliberately to maximize muscle engagement.
- Adjust the Incline: Start with a higher incline (e.g., wall push-ups) and gradually lower the surface as you gain strength.
Common Mistakes to Avoid
- Flaring Elbows
- Keep your elbows at a 45-degree angle to reduce strain on your shoulders.
- Sagging Hips
- Engage your core and glutes to maintain a straight body line.
- Inconsistent Range of Motion
- Lower your chest fully toward the surface for a complete range of motion.
- Rushing the Movement
- Perform the exercise slowly to maximize muscle activation and reduce the risk of injury.
Benefits of the Incline Push-Up
- Beginner-Friendly
- Ideal for those new to strength training, as it requires less upper body strength than a traditional push-up.
- Improved Upper Body Strength
- Targets the chest, shoulders, and triceps, helping to build a strong foundation for other push-up variations.
- Core Engagement
- Requires core stability to maintain proper alignment, enhancing overall core strength.
- Reduced Joint Strain
- The incline position reduces stress on the wrists, shoulders, and elbows, making it a safer option for individuals with joint issues.
- Progressive Exercise
- Can be adjusted to increase difficulty as strength improves, allowing for gradual progression toward standard push-ups.
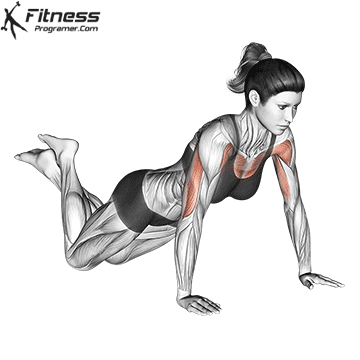
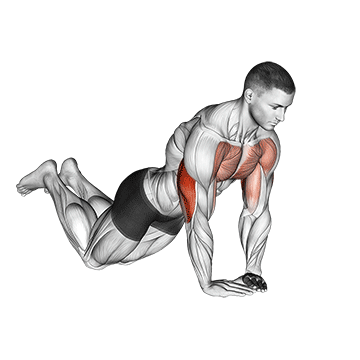
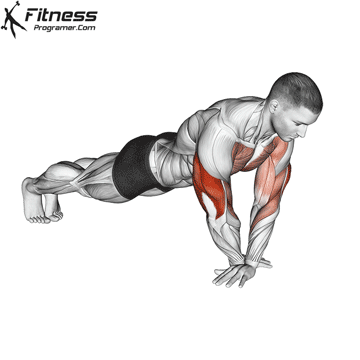
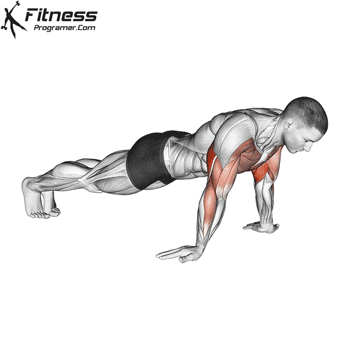
Incline Push-up Muscles Worked

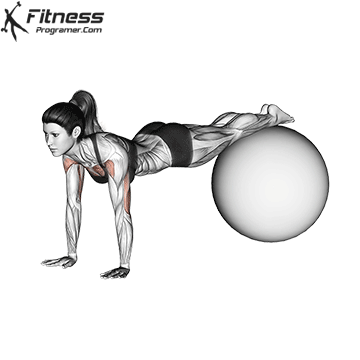
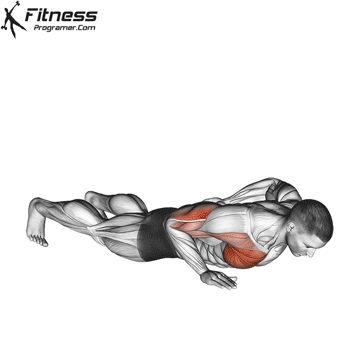
Incline Push-up Variations