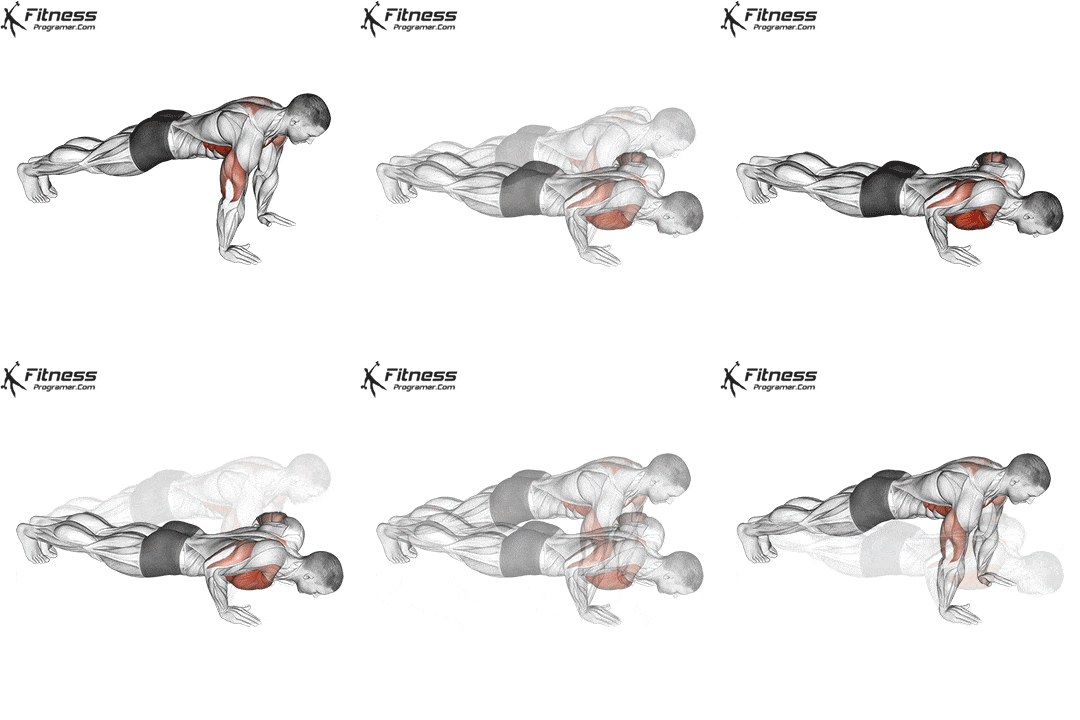
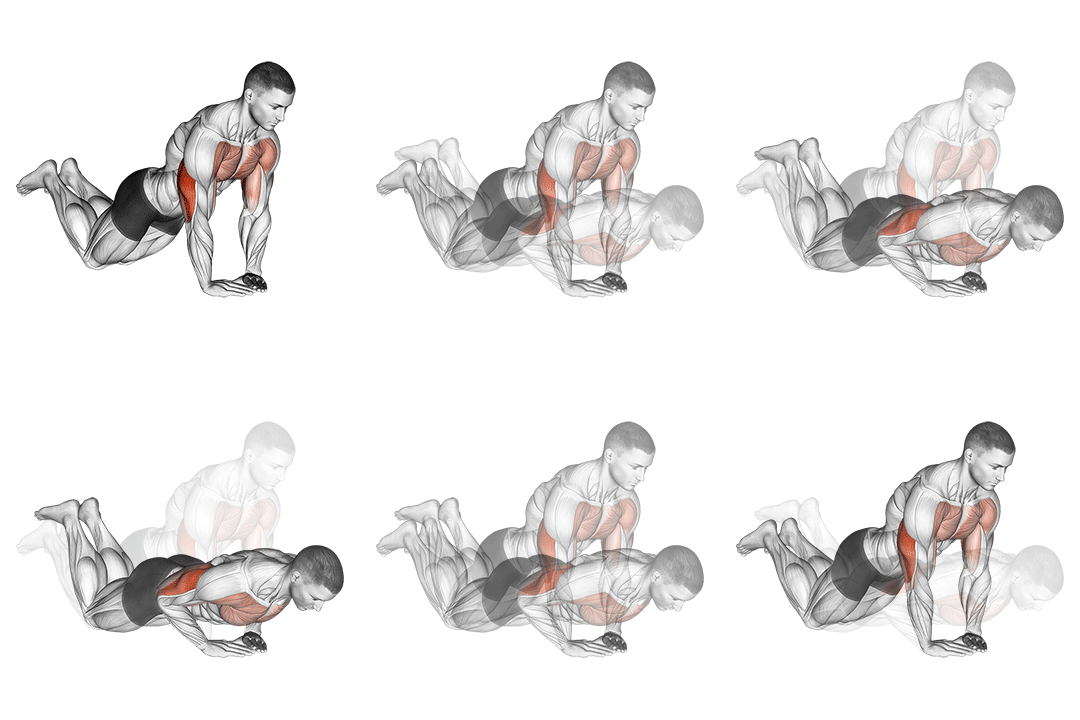
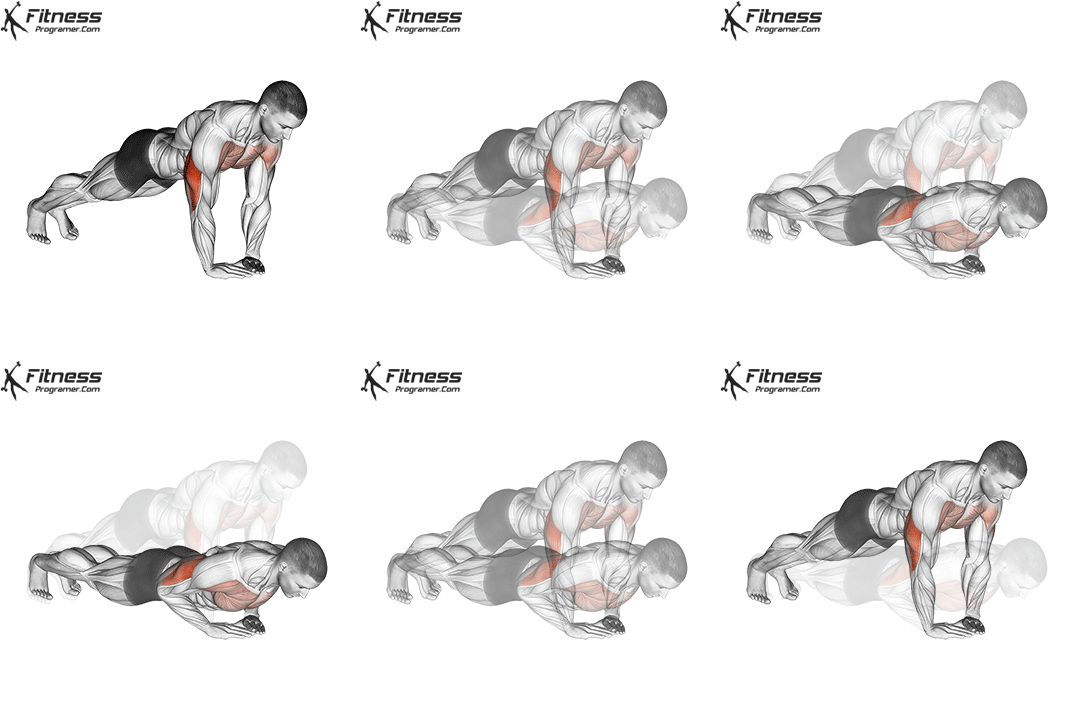
Wall Push-Up Overview
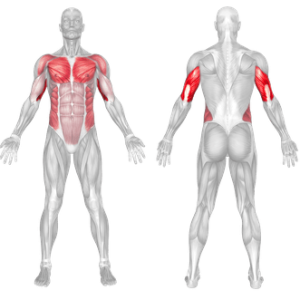
The Wall Push-Up is a beginner-friendly variation of the classic push-up performed against a wall. This exercise targets the pectoralis major (chest muscles), triceps, and anterior deltoids
It’s an excellent choice for those new to strength training, individuals recovering from injuries, or anyone seeking a low-impact exercise option. Wall push-ups can also serve as a warm-up for more advanced push-up variations.
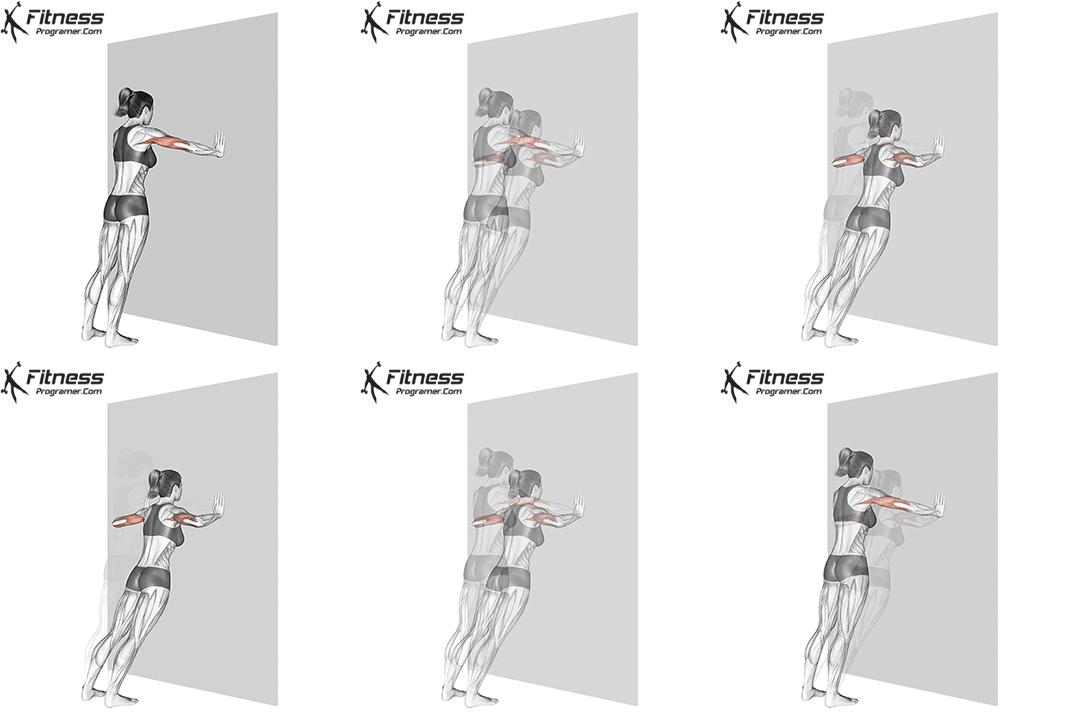
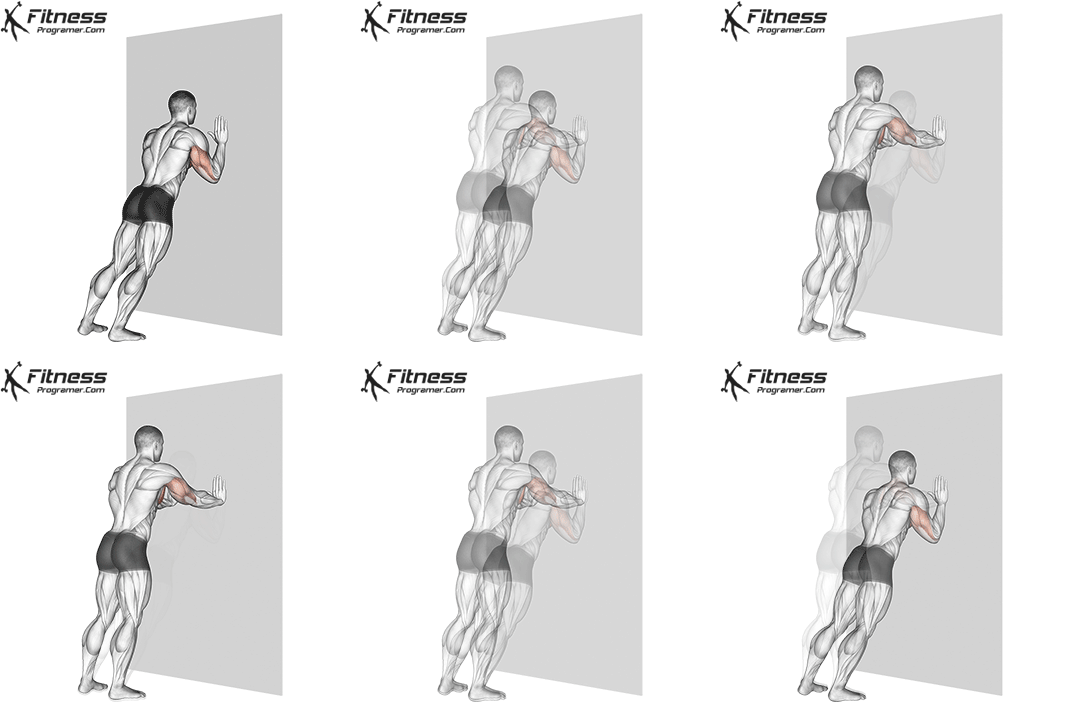
How to Perform a Wall Push-Up
Setup
- Stand facing a wall, about 2–3 feet away, depending on your arm length.
- Place your hands on the wall at shoulder height and slightly wider than shoulder-width apart.
- Keep your body straight from head to heels, engaging your core to maintain a neutral spine.
Execution
- Lowering Phase
- Slowly bend your elbows and lower your chest toward the wall, keeping your elbows at a 45-degree angle from your body.
- Stop when your chest is about an inch away from the wall.
- Pressing Phase
- Push through your palms to straighten your arms, returning to the starting position.
- Keep your movements controlled and avoid locking out your elbows.
- Repeat: Perform for the desired number of repetitions while maintaining good form.
Tips for Maximum Effectiveness
- Adjust Hand Placement: A wider grip emphasizes the chest, while a narrower grip targets the triceps more.
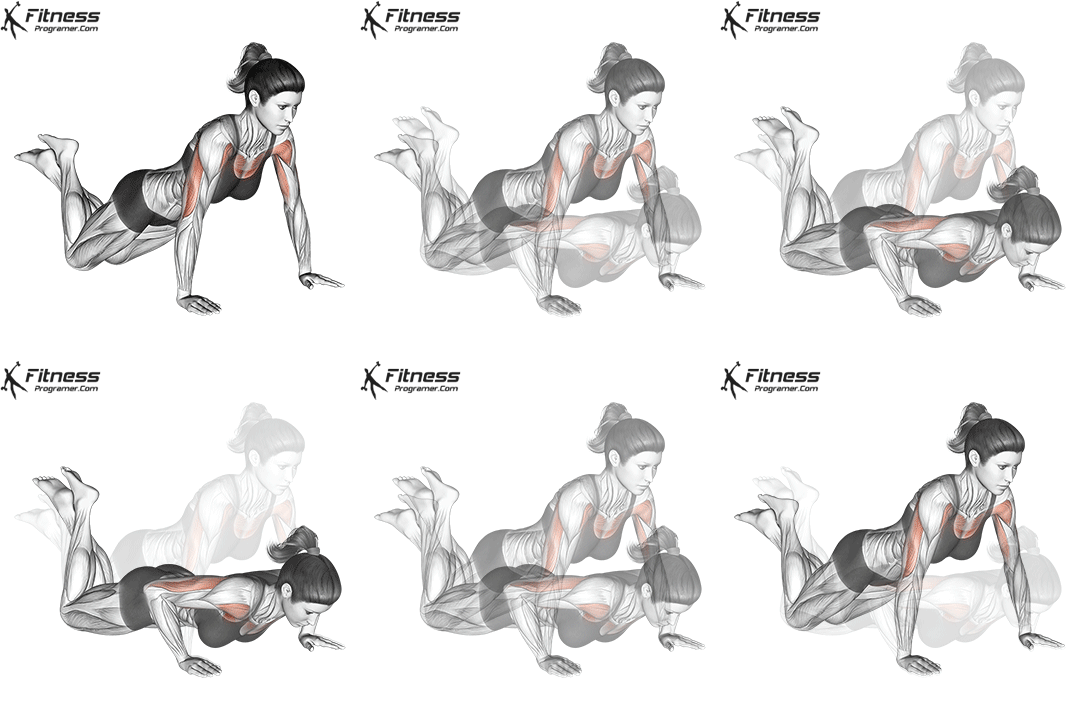
- Gradually Increase Difficulty: To progress, move your feet further from the wall or transition to incline or floor push-ups.
- Breathe Properly: Inhale as you lower yourself and exhale as you push away from the wall.
- Focus on Form: Prioritize good form over the number of repetitions to avoid injury and maximize results.
- Combine with Other Exercises: Pair wall push-ups with other bodyweight exercises like squats or lunges for a full-body workout.
Common Mistakes to Avoid
- Bending at the Hips: Maintain a straight line from your head to your heels throughout the movement.
- Elbows Flaring Out: Keep your elbows at a 45-degree angle to prevent unnecessary shoulder strain.
- Rushing the Movement: Perform the exercise slowly and with control for maximum muscle engagement.
- Standing Too Close or Too Far: Position yourself so that you can comfortably perform the push-up without straining your back or shoulders.
- Not Engaging the Core: Keep your core tight to avoid sagging or arching in the lower back.
Benefits of Wall Push-Ups
- Beginner-Friendly
- Perfect for those with limited upper body strength or just starting their fitness journey.
- Low Impact
- Gentle on the wrists, elbows, and shoulders, making it suitable for individuals with joint issues.
- Improved Upper Body Strength
- Strengthens the chest, arms, and shoulders, preparing you for more advanced push-up variations.
- Core Engagement
- Helps improve posture and stability by engaging the core muscles.
- Scalable Exercise
- Can be modified by adjusting the distance from the wall or changing the hand placement to increase or decrease difficulty.
- Convenience
- Requires no equipment and can be performed anywhere, making it accessible for all fitness levels.
Wall Push-up Muscles Worked
